-
Help Topics
Expand all | Collapse all
WebConnector Setup
Note: These instructions are available in your Teapplix account under QuickBooks tab, and then under Integration Setup.
QuickBooks Integration Preparations
Teapplix can export orders to QuickBooks. This is done with QuickBooks Web Connector, a free add-on to QuickBooks. Once setup, Your orders will be exported to QuickBooks automatically with no file import export. Before you start, please do the following with your QuickBooks:
- Backup your company file.
- Turn on sales tax in QuickBooks under "Edit => Preferences". Make sure you have a "Sales Tax Items" in your item list that matches the tax rate of your state + local rates.
- Optional: Create "Discount" items to represent fees. Teapplix can optionally track fees like eBay final value fees, PayPal fees, and Amazon marketplace fees on the exported orders. Fees will be represented as a "Discount" on the exported orders. If you want Teapplix to track fees, you need to create "Discount" items in your QuickBooks before linking it to Teapplix.
- Optional: Create inventory items so you can map your sales to them.
Install QuickBooks Web Connector
- Launch QuickBooks.
- Launch Web Connector by clicking the menu File->Update Web Services on the QuickBooks. Optionally, you can download and install a standalone QuickBooks Web Connector here.
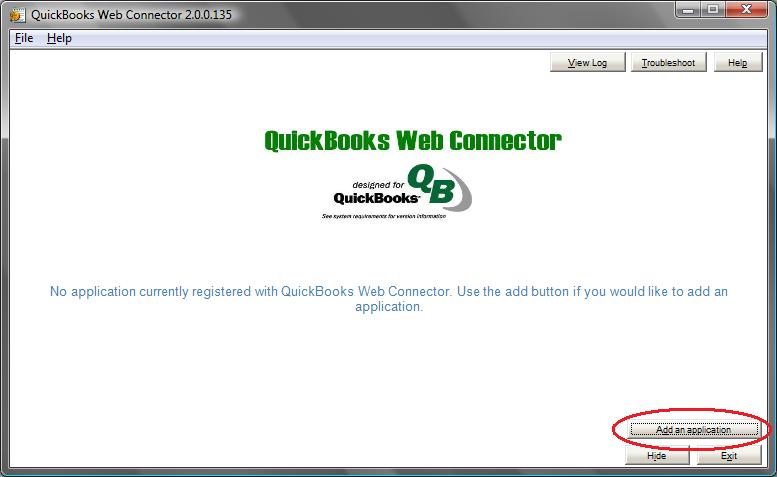
- Download your Web Connector "qwc file" teapplix.qwc, launch QuickBooks Web Connector and "Add an application" using the saved teapplix.qwc file:
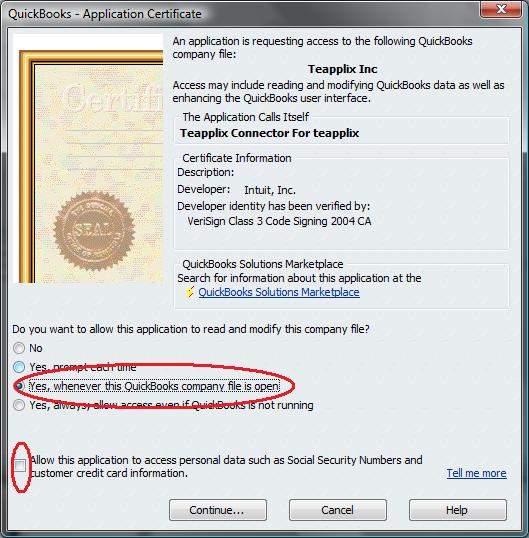
- Leave the "Allow this application to access Social Security Numbers... box unchecked, Click on the "Yes, Always" button to Authorize Teapplix Web Service:
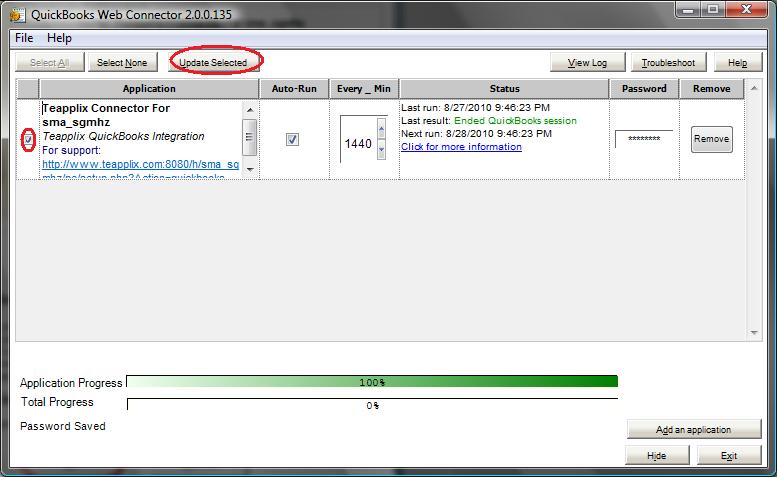
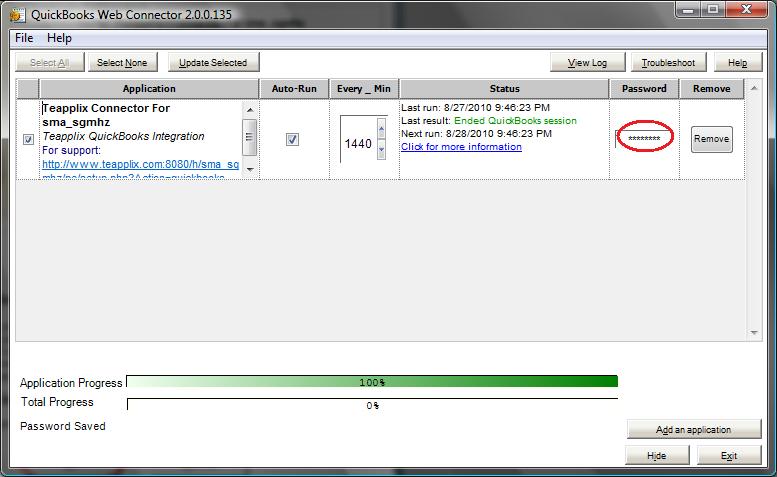
- Type your Teapplix account password into QuickBooks Web Connector password box:
- Select "Teapplix Connector for teapplixsusan" and click on "Update Selected" button once. Answer "Yes" when asked to open a browser window, and complete the setup in that window: